Installing Hardware
Installing Magtek Check Readers
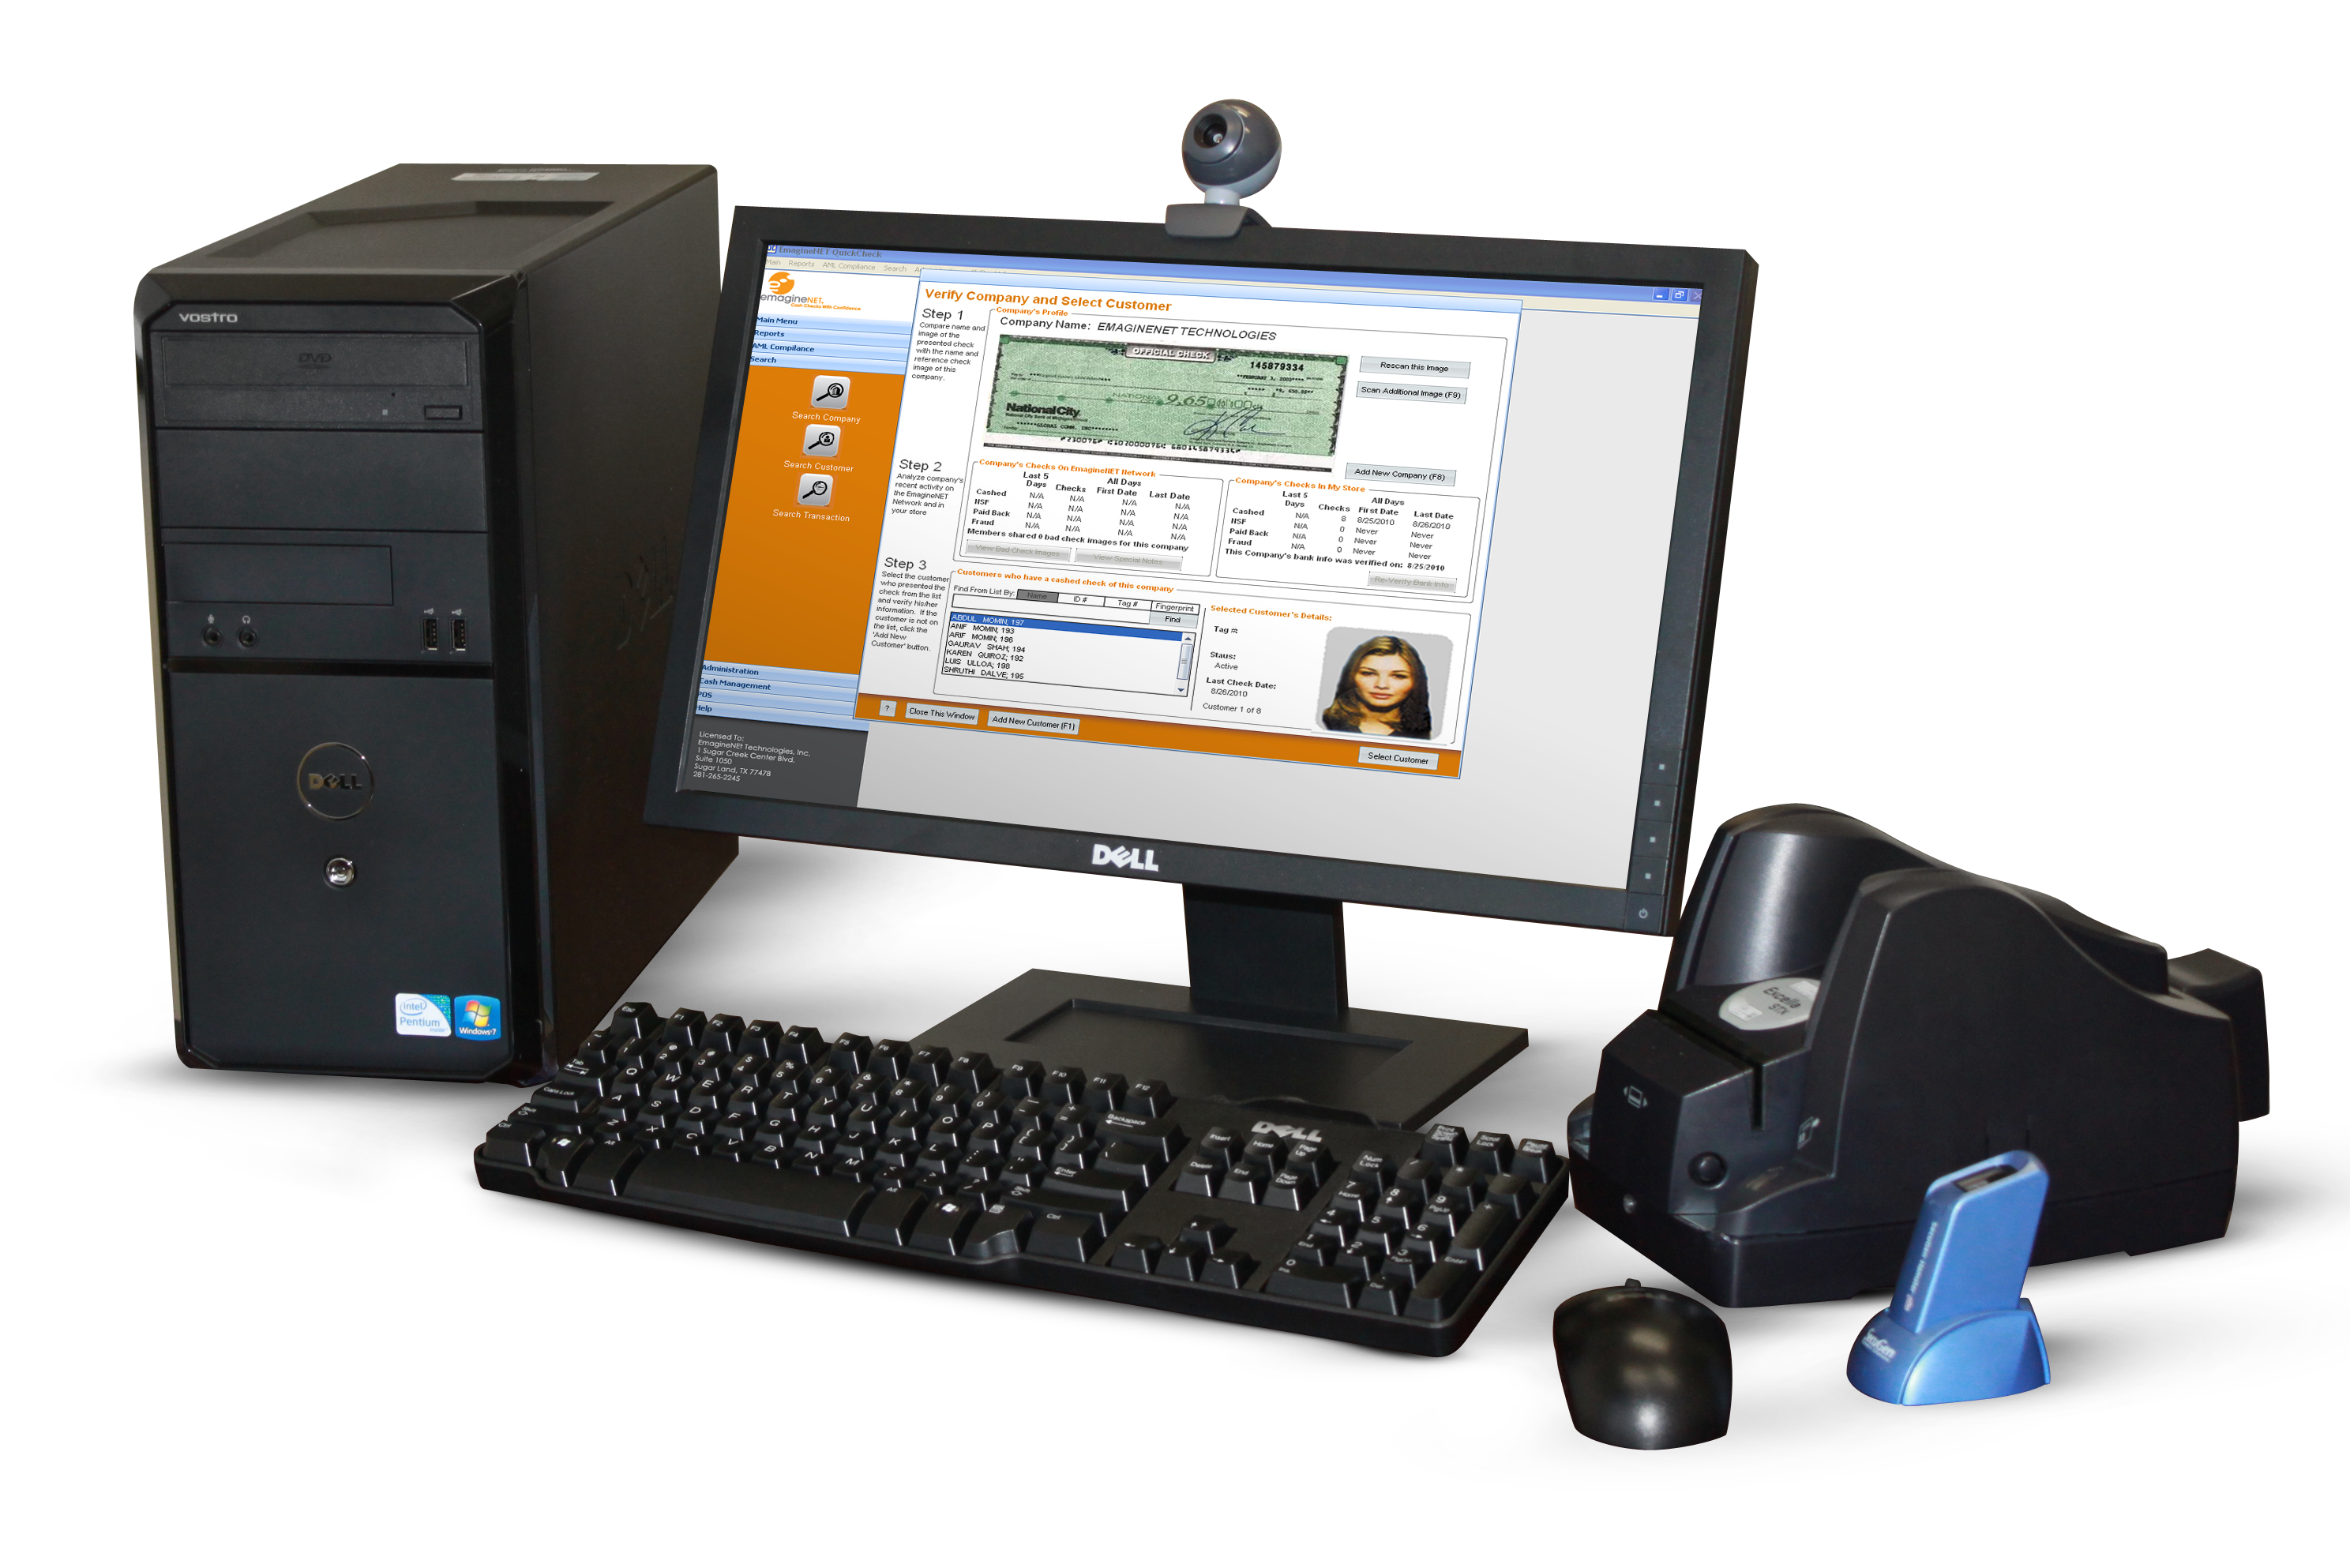
How to install Magtek Excella STX Check Reader?
Note: Compatible Excella STX units are models #22350001 and 22350010 (color), 22350005 and 22350009 (black/white)
a. Ensure you have connected the Excella STX to a power outlet and verify it has a green light on the center of the unit.
b. Do not connect the unit to the computer just yet, make sure you connect it after drivers are installed
c. Download the drivers from the EmagineNET website or Magtek website
d. Once drivers are downloaded, open the zip folder and extract the folder to desktop
e. Run the setup.exe as Administrator
f. Follow the steps through the installation wizard by hitting Next through each window
g. After installation is finished, you may plug the check reader USB cable from the Excella STX to the computer
Note: Allow a few seconds for the unit to be successfully detected on the computer. Once detected you will see a confirmation on the bottom right of your screen. You can also go to the Device Manager and check the USB connection and make sure the Excella STX connection is present.
h. Make sure you have successfully selected the Check Reader type in your QuickCheck software as the correct Excella STX unit so it gets detected while launching QuickCheck
Note To check such setting click here to learn how to set up hardware settings in EmagineNET QuickCheck.
How to install Magtek MICRimage Check Reader?
Note: Compatible MICRimage units are models #22410003 and 22410005
a. Connect the MICRimage to the power and verify it has a green light on the left side of the unit.
b. Do not connect the unit’s USB cable just yet, make sure you connect it after drivers are installed.
c. Download the drivers from EmagineNET website or Magtek website
Note: Make sure to select the USB Driver as per your operating system.
d. Unzip the compressed folder and select the folder as per your computer’s bits (i.e. 32 or 64 bits).
e. Run the DPInst file, click next and once finish, click on Finish.
f. Plug your check reader unit to the computer now.
Note: Make sure the power is on before connecting to a computer and check drivers are successfully installed by going to Device Manager and finding the MICRImage in your USB connections.
g. Download the demo program to test connectivity after installing drivers from Magtek website
Note: Make sure to select the MICRbase Setup Program option. Click on configure and test the connection, if it passes, the unit is good to go, if it fails, check connections or call 281-265.2270 for further assistance.
h. Make sure you have successfully selected the Check Reader type in your QuickCheck software as the correct MICRImage unit so it gets detected while launching QuickCheck
Note To check such setting click here to learn how to set up hardware settings in EmagineNET QuickCheck.
Installing Logitech Camera
How to install Logitech Web Camera?
Note Any Logitech webcam model as long as it is windows based
a. Connect your Logitech Camera to your computer
Note: At times, the unit is self-installed by Windows. If not go to Logitech’s Website to download the drivers for the proper model you have or to EmagineNET Website to download the C525 model drivers.
b. Make sure you have successfully selected the Camera option in your QuickCheck software so it gets detected and is ready to use while launching QuickCheck.
Note: To check such a setting click here to learn how to set up hardware settings in EmagineNET QuickCheck.
Note: You may install any other camera mode as long as it is Windows-based, ensure you have the drivers to install the camera and if you need further help, you may contact 281-265-2270 to configure it with your QuickCheck software, do note not all cameras might be compatible with EmagineNET QuickCheck.
Installing the Finger Print Device
How to install the Secugen Finger Print Device?
Note: Compatible Secugen Finger Print Devices are Hamster IV, Hamster Plus.
a. Connect your Secugen Finger Print Device to your computer
Note: At times, the unit self installs by Windows. If not got to Secugen’s Website to download the drivers or visit our EmagineNET website to download the drivers for the Secugen Hamster Plus model.
b. If the drivers are not self-installed, once you download drivers from the site run the setup and complete installation
Note: You may test the connection by opening the DEMO program before hitting finish during setup installation.
c. Make sure you have successfully selected the Secugen Finger Print option in your QuickCheck software so it gets detected and is ready to use while launching QuickCheck.
Note: To check such a setting, click here to learn how to set up hardware settings in EmagineNET QuickCheck.